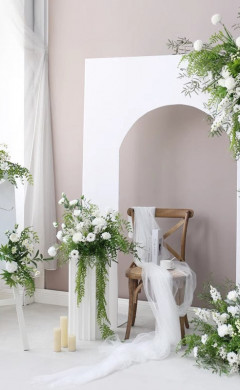
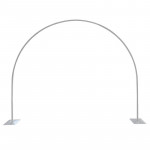
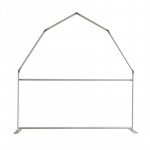
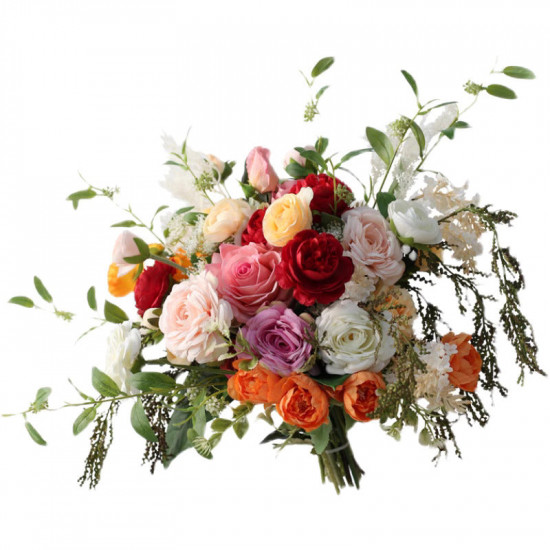
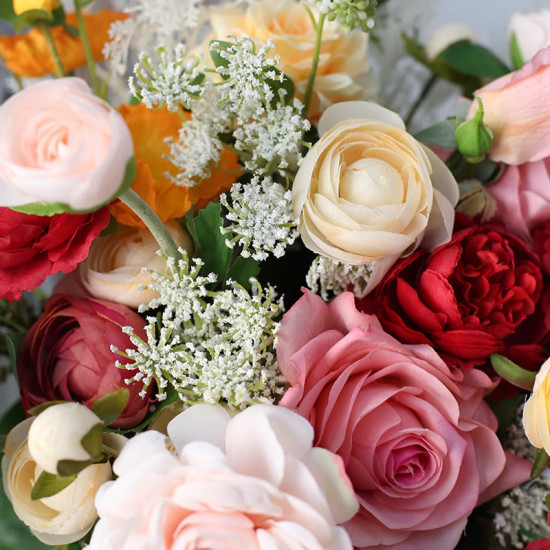
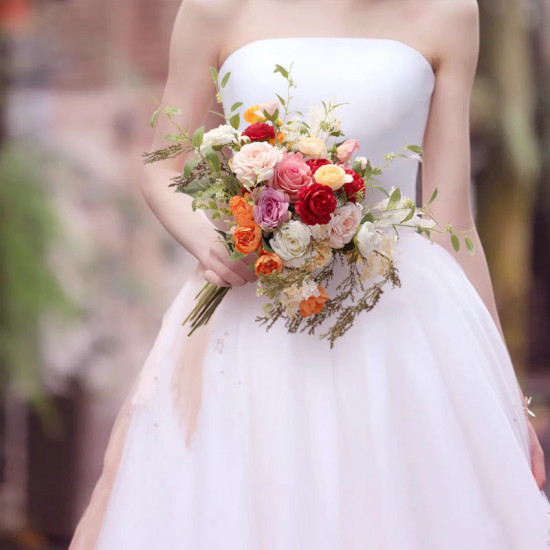
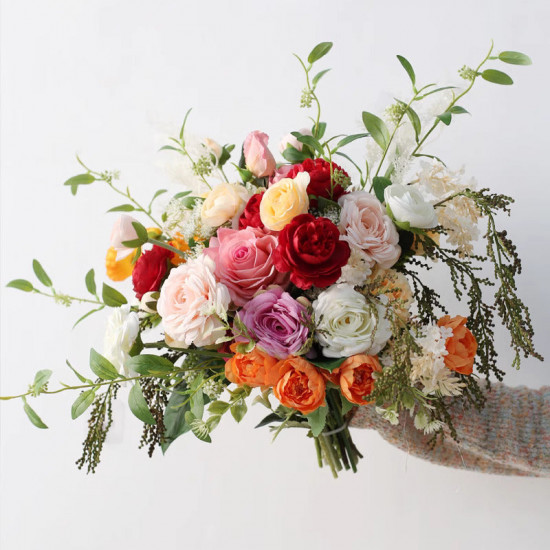
colourful rose wedding bridal bouquet, wedding bouquet flowers, diy wedding flowers, artificial wedding flowers
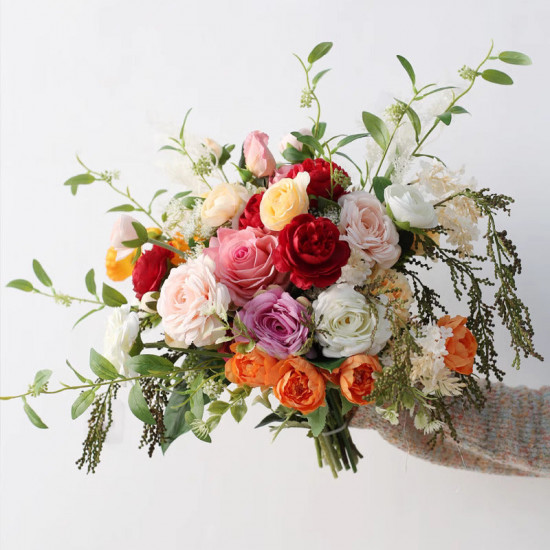


- Stock: In Stock
- Model: 10172
100% Satisfaction Guaranteed
7/24 Fast Customer Support
Our bridal bouquet collection offers a selection of lovely alternatives to make your special day even more unforgettable. From conventional bouquets to more modern and unusual arrangements, we have the appropriate flowers to compliment your bridal style and create a stunning and unforgettable wedding day.
Designing a gorgeous bridal bouquet is a valued custom that lends a unique touch to every wedding event. For couples wanting a bold and timeless style, a colorful rose wedding bridal bouquet is a gorgeous alternative. This detailed tutorial will examine the art of crafting your wedding bouquet flowers showcasing gorgeous roses in various hues. Whether you're a seasoned craftsman or a newbie DIY enthusiast, this step-by-step instruction will provide you with the information and creativity required to build a bouquet that will be the highlight of your special day.
Choosing the Perfect Roses
Any vibrant rose wedding bridal bouquet begins with the choice of the ideal blooms. To produce a visually arresting bouquet that fits your wedding theme and personal taste, use a range of colors and hues. For your arrangement to have depth and dimension, think about combining rich jewel tones, vivid hues, and soft pastels. Select robustly stemmed, fully blooming roses for a bouquet that will last and make an impression.
Gathering Materials
Before you begin crafting your bouquet, gather all the necessary materials:
- Artificial Roses: Choose premium fake roses in the sizes and colours you choose. For a convincing appearance, be sure the roses have realistic-looking stems and petals.
- Floral Tape: For a unified bouquet, tie the rose stems together using floral tape.
- Wire Cutters: To cut the rose stems to the right length, have a pair of wire cutters handy.
- Ribbon: For a professional touch, wrap the bouquet's stems with a complementary-colored ribbon.
- Embellishments (optional): To make your bouquet even more stunning, think about using pearls, crystals, or foliage as accents.
Assembling the Bouquet
Once you have gathered your materials, it's time to start assembling your colorful rose wedding bridal bouquet:
- Prepare the Roses: Trim the stems of the roses to the appropriate length using wire cutters. Remove any extra leaves or thorns from the stalks.
- Create the Base: Make a couple bigger roses the centerpiece of your arrangement first. For depth and dimension, hold them together in your palm at somewhat different heights.
- Add Layers: To make a balanced and eye-catching arrangement, progressively add additional roses around the foundation, varying in size and colour. As you work, bring the stems together using floral tape.
- Shape the Bouquet: When every rose has been added, hold the bouquet in one hand and gently shape and fluff the petals with the other to form a whole, rounded shape.
- Wrap the Stems: Using floral tape, firmly wrap the stems around the bouquet's base. If need, cut any extra stems.
- Add Ribbon: Covering the flowery tape with a ribbon, finish your arrangement. For an understated and sophisticated finish, tie the ribbon into a knot or bow.
Tips for Care and Storage
Take the following advice into account to make sure your vibrant rose wedding bridal bouquet remains lovely and fresh all day long:
- Keep Cool: To stop the fake flowers from fading or drooping, store your arrangement somewhere cool and dry out of direct sunshine.
- Handle with Care: To prevent breaking or scuffing the fragile petals, handle your bouquet carefully.
- Transport Safely: To prevent damage to your bouquet while being transported to the wedding site, pack it in a robust box coated with tissue paper.
Conclusion
In the end, making your own bright rose bride bouquet is a fun and artistic project that adds a touch of homey beauty to your wedding day. If you follow the steps in this book, you can make a beautiful bouquet that will look great on your wedding day. You can say "I do" in a garden event or a big hall, and your do-it-yourself wedding flowers will make every moment more beautiful.
This product is more beautiful that I anticipated. Very easy to assemble and gorgeous to look at
We have various suggested techniques for various wall backdrops;
please check:
☞ For flower wall panels
For best results, we recommend utilizing different installation equipment depending on your particular wall environment:
1. To guarantee a secure attachment, we advise using staple guns or nails on hardwood surfaces or white or gray walls.
2. We suggest using strong adhesive hooks if you want to mount the flower wall panels on smooth tiles or surfaces that can't be drilled.
☞ For regular roll-up fabric flower wall backdrop
Owing to the distinctive pattern at the top of the flower wall backdrop, we have incorporated a space for a hanging rod.
If you want to install the floral wall backdrop on a stand, just slide the stand's hanging rod into the appropriate opening and hang it firmly there.
Once the background is in position, please remember to fasten both the middle and side straps for stability and a visually appealing show.
