How to Make an Asymmetrical Arrangement!
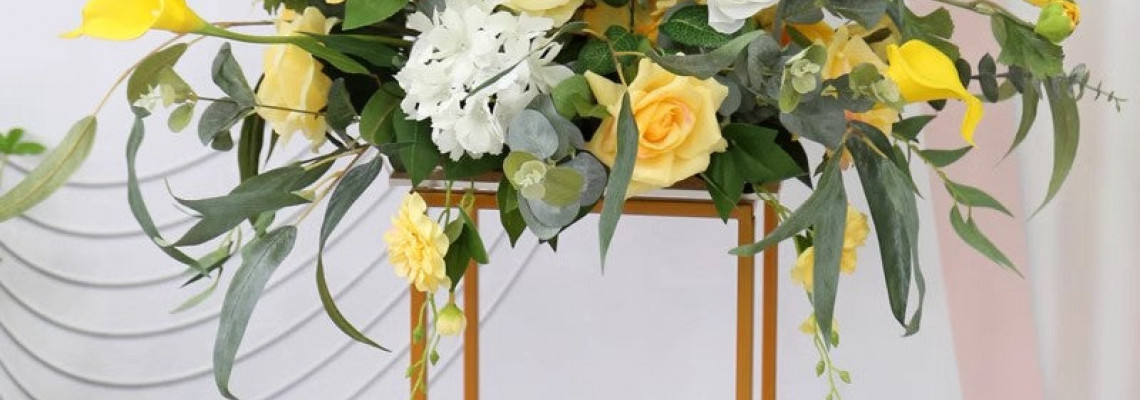
How to Make an Asymmetrical Arrangement!
Since asymmetrical arrangements are some of my favorite patterns, and Mother's Day is quickly approaching, I wanted to make a playful piece motivated by my mother!
I called her before we started to ask about her favorite flowers, and she told me a long list of things that I should not use instead. This is my attempt at creating something for my mother, who wasn't thrilled about the notion of an asymmetrical sculpture and only requested a purple-blue hydrangea. Let's get started!
Create a Compote Bowl!
You can assemble some gorgeous but affordable compote bowl components from Dollar Tree! Sure, DT products are only $1.25 instead of $1, but considering how much compote bowls are now selling for, you can bet you'll save a ton of cash!
To assemble this, grab one of their candlestick holders, a glass bowl (the one with the lovely pattern on the sides), E6000, and some ordinary hot glue.
Use Extra Glue for a Larger Surface Area!
I've often seen this trick of joining the two glass pieces in the florist world, but it generally just requires gluing the candlestick holder to the bowl using an E6000* ring around its rim. When you add flowers and greenery to the bowl, there isn't enough surface area for the candlestick to stay in place.
Squeezing E6000 into the cup region where the candle usually goes and around the candlestick rim was the trick I employed for this piece. Since it takes a day for E6000 to set completely, I covered every piece of glass in the "cup" with a thin layer of the material before adding hot glue to fill it. Although hot glue dries considerably faster, it tends to peel off the glass; for this reason, you want the thin coating of E6000 behind it to adhere to the glass.
Glue the Glass Pieces Together!
Once the candlestick cup is full and completely dry (you must wait for the hot glue to solidify), coat the dried hot glue and the candlestick's rim with E6000. The candlestick will stay in place because of the surface area you now have between it and the bowl!
E6000 also sets better when slightly tacky, which is another technique. Thus, please pick up the candlestick holder again, rotate it slightly, and then place it back on the adhesive ring after putting it in the bowl. Let it dry overnight, then return the next day to continue with the next step.
Spray Paint the Container!
You may spray-paint your compote bowl now that it's solid and assembled in one piece! You can use any color, but I chose white because I plan to use vibrant, intense spring colors for my blooms. Turn the bowl upside down and lightly coat the entire surface with spray paint, letting each coat dry before applying another.
Use a sealing spray like Mod Podge or clear acrylic coating to ensure the paint adheres to the surface.
Add Foam!
Now that the compote bowl is finished, painted, and allowed to cure, it's time to attach the dried foam!
As I have explained, hot glue and glass aren't the best of friends. The hot glue peels off more efficiently when the glass cools. Furthermore, E6000 and foam aren't the best friends because E6000 occasionally dissolves the foam. You could tape the top of the glass bowl in a grid pattern to create a flowery structure, but I was more interested in testing the durability of double-sided tape on foam.
So that you know, it's holding up well!
Select Your Greenery!
I begin every asymmetrical arrangement I make with my base of greens! Most of the time, the foliage will define the piece's limits and form.
- Eucalyptus and lamb's ear mixed bundle is the greenery used; it has excellent bounce, flow, and movement.
- bunch of sage leaves (the deeper hue and leaf shape provide contrast and color)
- Lamb's ear: This foliage adds volume and works well to fill in spaces while balancing the other two greenery.
Start Your Greenery Base!
I started constructing the design with the eucalyptus and lamb's ear mixed bundle because of its organic movement—the leaves are on wire-free stems that allow them to bounce—and it's not stiff. The sculpture should have been higher on the left and then descend naturally on the right.
Make sure you like how these two pieces of foliage look because they will establish the general style for the rest of your additions.
Add More Greenery!
I added the remaining eucalyptus and lamb's ear mixed bundle to the middle, front, and back sections, considering that curved line that runs from top left to bottom right.
Then, they inserted the fuller lamb's ear. The second and third vegetation varieties should be added to the arrangement to complete the asymmetrical curve and to adhere to the defined parameters. For instance, I had to ensure that both the lamb's ear stems on the upper left and the one hanging off the bowl's right side went upright. Although the greenery stems' lengths can and should vary, their directions should flow harmoniously.
Add Even More Greenery!
Utilizing the same direction and flow as the others, add the sage leaf foliage. There will be areas where the foam is visible, but most will be hidden by flowers in the following steps. After the flowers are in, you can add more greenery or fillers.
Select and Paint Your Flowers!
Purpley-blue hydrangeas were my mom's only actual request. Therefore, I chose a vivid and striking color scheme and bloom type inspired by wildflowers!
- I used celeste (colored like daffodils) for this piece.
- Spider mums, which are primarily white with a yellow or green core to resemble chrysanthemums
- Hydrangea (spray painted hot pink and blue to provide a purple look)
- Dolly (decorated in purple)
- Sola branches (colored pink to mimic the buds of magnolias)
- tiny daisies
Add Your Tallest Flowers!
Take a look at the Sola branches' vibrant burst of color! They highlight the asymmetrical shape when they stay inside the box but slightly exceed the greenery's bounds.
Add Your Largest Flower!
The enormous, fully-grown hydrangea is the following item to add. You want to put it second because it takes up the most room and stands out because of its colors. As I typically advise, I positioned it close to the bowl's rim and off-center. This flower should be closer to the area where the foliage is concentrated because the other flowers can assist in extending the shape.
Keep Adding Flowers!
I added flowers to balance the hues and enhance the overall design. The dollies, or purple flowers, were adhered to a fake rose stem (the top flower served as the rose's location, and the other two held foliage). This helped to extend the arrangement's darker hydrangea coloration to its borders. The celeste flowers and spider mums were positioned in the middle, where the foliage was densest. In addition to maintaining equilibrium, the triangle arrangement attracted the eye.
Add Mini Daisies as Filler!
The daisies, the final flower, were stemmed individually before being placed into the arrangement in bunches of two to three at a time. They contributed to the outer layers of the entire arrangement's gentle yellow tint.
Add Final Filler for Texture!
Not to mention, I used a filler from my stash to follow the lines that the dollies and sola branches had previously created to bring the white out to the edges!
The Finished Piece!
It's incredible how much foliage and flowers you can fit into a compote bowl, and I'm pleased with how it turned out.
Let's hope my mother agrees as well!
