How to Make An Arch Swag!
How to Make An Arch Swag!
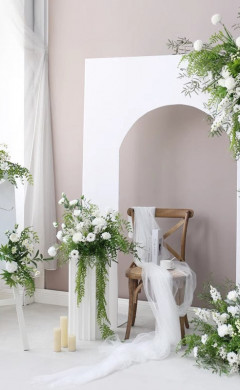
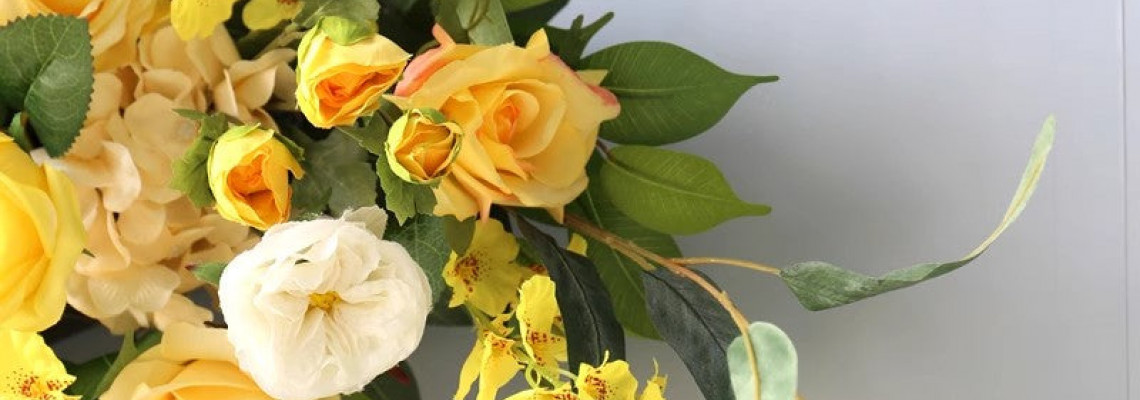
Huge swags of flowers and greenery are popular right now for prominent wall decor (think above the mantel!) and weddings alike. Because of their size and the sheer volume of flowers and greenery they contain, they can appear very intimidating, but these pointers will help you make the ideal piece to put on display!
What You'll Need:
What I utilized for this project is as follows:
- Craft foam
- Wire Chicken
- Wire clippers (for trimming flower stems and chicken wire)
- Twine Filler/Greenery
- Oh, You're Lovely's Sola wood flowers
Secure the Wire Around the Foam!
Having gardening gloves on will help protect your hands from the sharp points of the chicken wire, as this section can be a bit prickly!
To determine the size you'll need, first wrap your chicken wire around the foam block. The sections that protrude farther out at the ends of the foam shouldn't worry you; flowers and greenery will cover them and keep them in place!
After determining the quantity of chicken wire required to cover the foam, cut the wire to the appropriate length and knot it together using twine.
Prep Your Greenery!
Now that your chicken wire/foam base is ready get your vegetation ready! Ficus is an excellent option for the foundation layer color I usually prefer to use, which is a large, leafy green. The prep is relatively simple because we start with a large area. Just divide the ficus into three equal parts.
For a 24" long swag piece, you will need about 6 of these ficus stems.
Create Boundaries!
It's crucial to approach these kinds of groupings with a specific shape in mind. I started by drawing the top, bottom, and side-to-side "boundaries" since I intended this one to change into something akin to a diamond. This assists me in getting into the form (when I invariably get overly ambitious and just keep piling on embellishments!).
Fill In to Create a Diamond Shape!
I added focus pieces along the foam block's sides to finish creating our shape. I began to focus on the foam block from the top, sides, and all angles once the loose diamond shape was evident. By switching up the stems' points of entrance, the foam block's grid pattern is created, which aids in keeping everything in place. Fun fact: If you follow this technique, you can hold your plant stems in place without the need for glue!
Add Different Greenery!
Now that we have a solid foundation of greenery, it's time to introduce some variation for visual appeal. To really enhance the vibe, I chose seeded eucalyptus because of its deeper leaves and splashes of dark pink seeds!
Once more, I just chopped the bundle of seeded eucalyptus into smaller pieces and inserted them straight into the chicken wire foam block.
Spray Paint for Metallic Filler!
My favorite thing about metallics, which have become rather fashionable, is... Any fake filler can be transformed into a stunning accent.
I turned these into the ideal filler by using Design Master rose gold spray paint!
Add the Shinies!
Cut those stems to size and incorporate them into your swag piece once the rose gold spray paint has dried (if you're using Design Master, it actually just takes an hour to dry completely).
Don't they introduce a fantastic texture?
Spot the Foam!
A TON of greenery and filler is needed for these wall or arch swag pieces. The amount of material that one foam block can carry is actually pretty tremendous!
The next thing we'll do is cover all of the remaining foam. Cover it with moss if you don't want to add a lot of additional foliage or filler. You don't want to completely cover the foam in adhesive if you choose to use moss to cover the exposed foam areas but keep in mind that we still need to add our flowers. If not, there would be nowhere for the stems of your flowers to pierce through and adhere to the foam.
Cover the Foam!
I kept spreading eucalyptus seeds and chopped down additional focus to cover the exposed spots until it appeared that everything was well covered.
Paint and Stem Your Flowers!
I used a variety of wood flower varieties, but I kept the ones that had comparable shapes and colors. I decided to use ivory, burgundy, and two different shades of pink for this artwork. I chose the paint colors I wanted in craft acrylic, combined them with a bit of water and vegetable glycerin, and began dying them all!
You definitely want to make sure you have a range of sizes in each of the colors so that the item looks natural and flows well!
After the wood flowers have dried, attach the 18 gauge floral wire stem to the back with a bit of hot glue.
Add the Large Flowers!
It's time to add the florals!
I started by adding three of each color's most enormous blossoms (3"). I tried not to have them all concentrated in the bullseye center, but I also maintained them primarily in the middle area. Leaving room for a few smaller flowers to fill in will assist in keeping the flow's natural, unforced appearance.
Add the Medium Flowers!
I then put three to five medium-sized (2.5-inch) flowers in each of the colors! Once more, I mainly concentrated on the region in the middle with the big flowers, but I also scattered some outside.
Add the Small Flowers!
It's finally time to add our 1-1.5-inch flowers! As you can see, a large number of those traveled to the diamond's borders, but some were dispersed around the middle and the whole swag.
Finish With Filler!
I used dried baby's breath sprigs to complete the piece. It distributed the white hue across the piece and added that final textured finish.
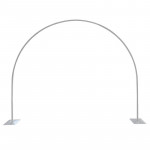
There are two methods for hanging the sculpture, which is our last task. If you intend to hang it on a wall in your house, you have two options: either drive two nails into the wall and adhere the foam directly to them, or you can use command strip hooks to hang it from the chicken wire in the back. You can use zip ties to fasten this around the metal or wood post if you're using it as a decorative arch at an event.
There you have it, then! An exquisite piece of décor that can be utilized for a particular occasion or displayed year-round in your house.
