How to Make a Cornucopia!
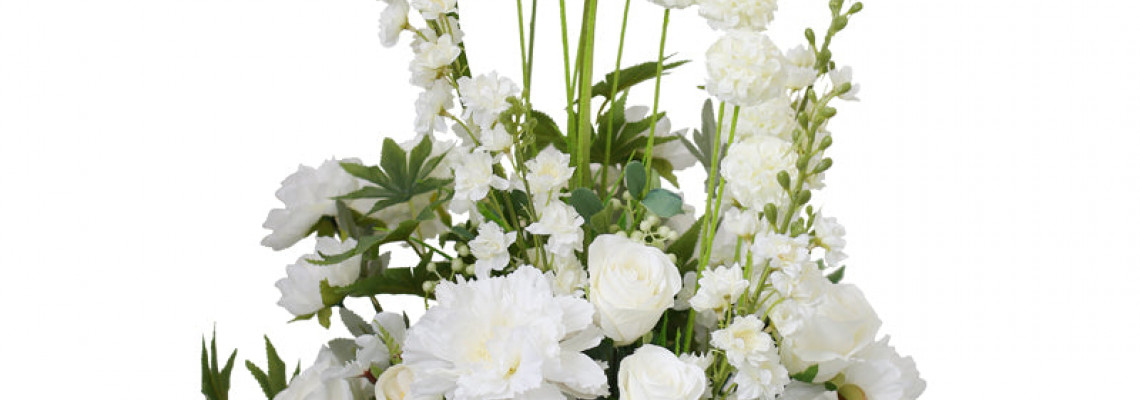
How to Make a Cornucopia!
There aren't many things that are as synonymous with Thanksgiving as a cornucopia, aside from a golden brown turkey and all the fixings. And what could be more ideal than a horn covered in foliage and flowers?
I'll demonstrate how to make a great cornucopia using sola wood flowers below. You can use this as the ideal vibrant centerpiece for your Thanksgiving dinner.
What You'll Need:
What I utilized for this project is as follows:
- Oh, You're Lovely cornucopia sola wood flowers (honey bee, latte, American beauty, and spider mum)
- Fall foliage (Smilax, cream-seeded Italian ruscus, and mixed flora) Foam pumpkins
Add Foam!
Cut a small piece of foam and place it in the cornucopia's center! I love switching up my decor every year, so I didn't glue the foam on for this piece, but you can if you want the arrangement to last forever.
Start Adding Greenery!
Take the Smilax first. This kind of foliage has a fair amount of hang, so you should add it first because it has the most organic movement. Since the Smilax will be the most extended greenery piece in your arrangement, keep in mind that you are essentially defining its boundaries when you add them.
Add your Italian ruscus with cream seeds. To make sure the pieces are shorter than the Smilax, you need to chop them down multiple times.
Separate Your Mixed Filler Stems!
The best thing about mixed greenery/filler bundles is the variety of leaf shapes, colors, and textures that are included! You should definitely split them all out for this project so you can add them according to type and color.
Add Leafy Pieces!
Add your leafy fillers to your cornucopia, starting with those. One type at a time addition is the most effective method to ensure that the piece is balanced!
Cover the Center Foam!
You can see that there is a visible portion of foam in the center of the left image. I added extra Smilax and lush greens from the fall mixed greenery to help cover that up.
Add Textured Pieces!
When the background of lush greenery or filler has been added, it's time to incorporate your textured pieces! At this stage of the composition, concentrate on the outer edges of your work. You do not want to lose any of those tiny filler bits when adding the flowers!
Stem Your Flowers and Pumpkins!
Apply a small amount of hot glue to the back of your flower (or pumpkin) and insert a wire stem with a gauge of 18 or 20.
Start Adding Flowers!
I began by adding my most enormous blooms, my spider mums, and using them to form a triangle in the composition.
I then added the flowers in a yellow latte.
Add Pumpkins and More Texture!
I put our pumpkins in the same triangle arrangement as I added the initial flowers. After they were in, I saw that our foliage base needed some more texture in a few spots, so I added the little orange berries from the fall mixed greenery!
Add the Final Flowers!
The American beauties and honey bees were our last blooms. Once more, all you need for balance is for them to be uniformly spaced throughout the composition, which is best accomplished with a triangle!
The Finished Cornucopia!
There you have it, then! You'll be able to showcase all the vibrant fall colors on your table with this cornucopia, plus you'll have the added satisfaction of making this unique arrangement yourself. Cheers to Thanksgiving!
